In order to create a Proxmox LXD Container, we first need to download the templates. If you want to check out a full list of images go to https://linuxcontainers.org/ Take note that Proxmox doesn’t show all of these images.
These containers are also very small. Check out the size of this Ubuntu container:

You can read more here: https://pve.proxmox.com/wiki/Linux_Container
Let’s Start
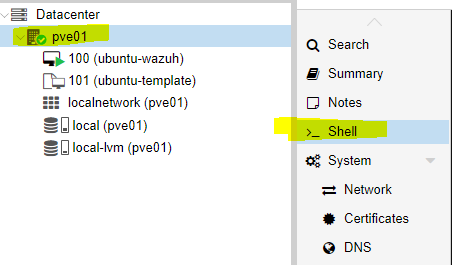
Click on your Proxmox cluster name, e.g. PVE01 and type:
pveam updateNext, type the below command to check out all of the available images. TurnkeyLinux images are preconfigured images with e.g. Drupal, Joomla, etc. System images are your “base” images:
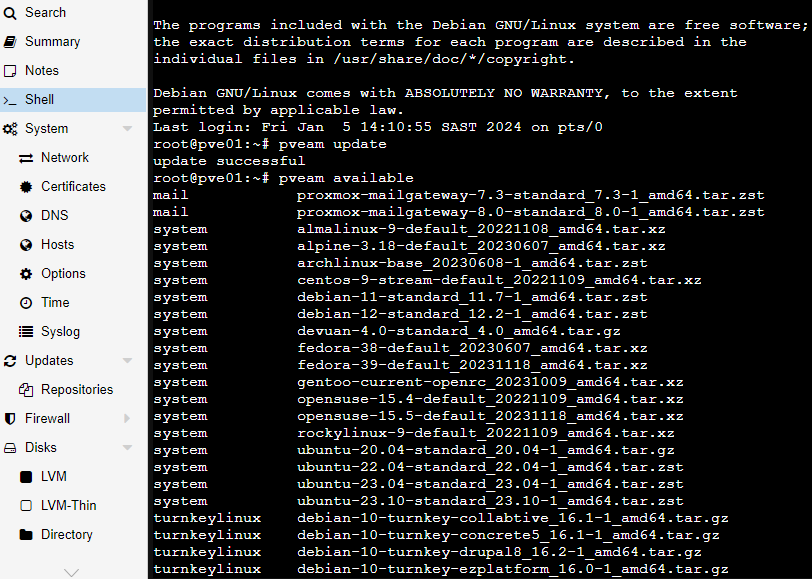
pveam availableNext, download your desired image, such as:
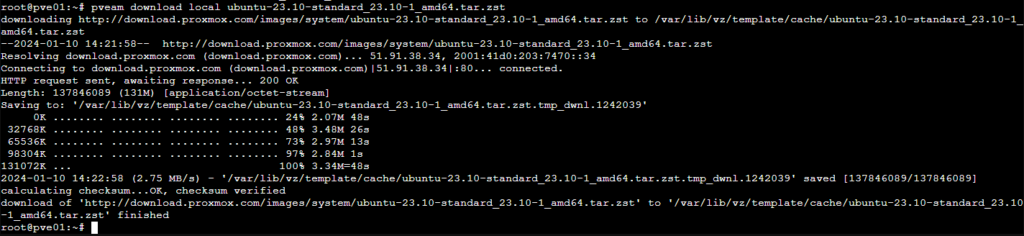
pveam download local ubuntu-23.10-standard_23.10-1_amd64.tar.zstAnd now we can create an LXD container using the LXD image we just downloaded.
Creating a user
After we created an LXD container, we can log onto it using the Proxmox Shell. But what if you want to SSH into it using the root user? By default, sshd_config will not allow you for security reasons. You will keep getting the “Access Denied” error.
So let’s add a new user and add it to the sudo group:
adduser myuser

--check if the user was created
cat /etc/passwd | grep myuser

--get the UID and GID of the user
id myuser

--add this user to the sudo group
usermod -aG sudo myuser

--you should see the sudo and myuser groups now
groups myuser
Next, SSH using this new user.