This is a continuation from this article: https://techstuff.leighonline.net/2023/03/19/esphome-on-home-assistant-running-in-docker/
Bascially, I have an ESP32Cam that I want to add to Home Assistant. My Home Assistant runs in Docker (So no supervisor. It is also called Home Assistant Core).
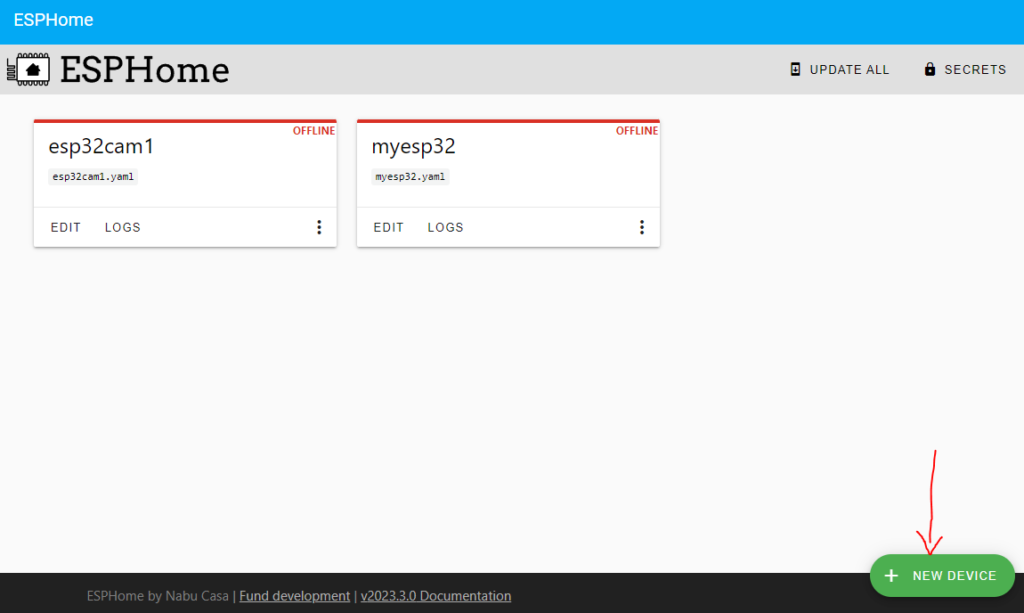
Steps
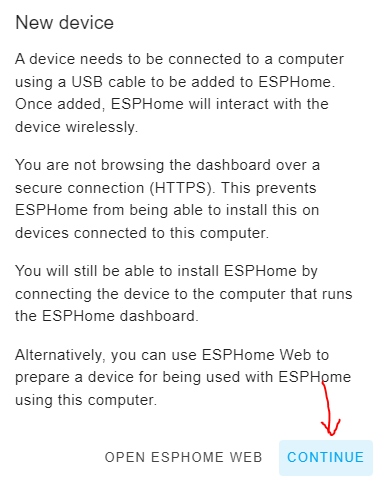
In ESPHome, click on New Device. I will be using ESPHome Flasher to flash my firmeware so if I get a warning, I just click continue.
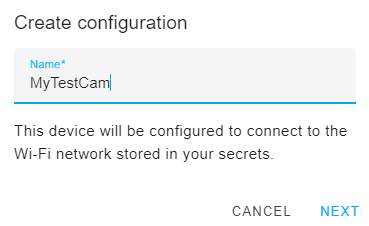
Enter a name for your device
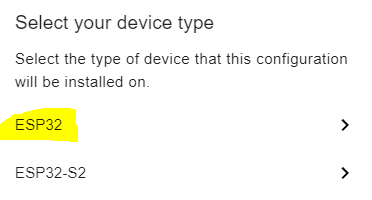
Select ESP32
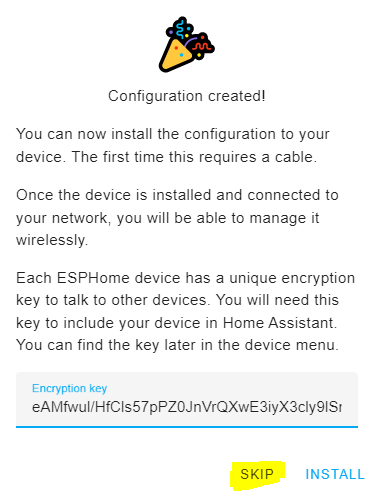
Now click on Skip as we need to add some YAML config
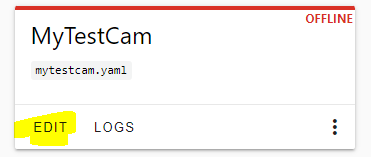
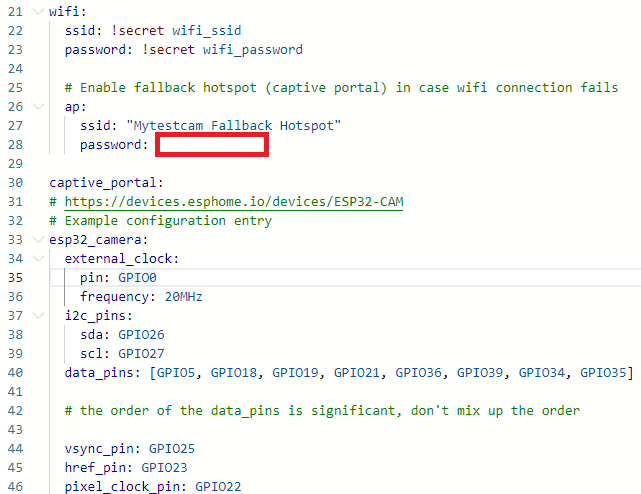
Click on Edit
Copy this YAML into the YAML editor: https://devices.esphome.io/devices/ESP32-CAM to the bottom of the existing config. Don’t delete the existing config.
This config will add a section for the camera as well as a section for the LED light that is on the ESP32Cam that you can control from Home Assistant.
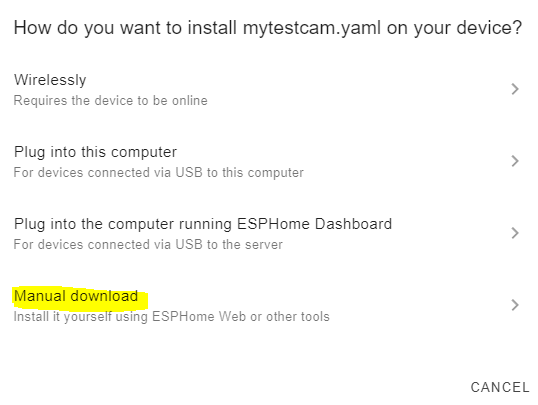
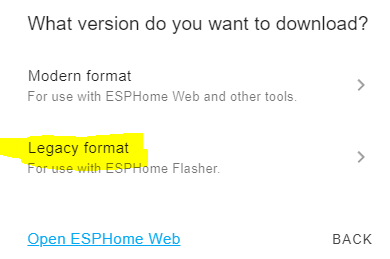
Once you added the config and gave your camera a nice name, click on Save, then Install, and then select Manual Download, and then select Legacy Format
The code will now be compiled and downloaded once it is done compiling. This might take a while. In the meantime, lets connect our ESPCam32 to our PC so long.
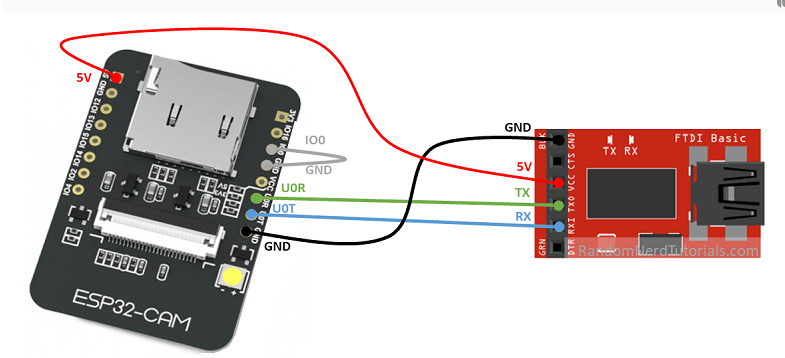
How to connect ESP32Cam to PC
We have to use an FTDI adapter for this. These guys have a great tutorial for how to connect your ESP32Cam to an FTDI, but the image below will show the gist of it
URL: https://randomnerdtutorials.com/program-upload-code-esp32-cam/
If you want to put the ESP32Cam in flashing mode, you need to connect GND and GPIO0 together like in the image below. Once you start uploading the firmware, you might have to press the RST button located on the bottom of the board. (I use a plastic wedge to push this button as my ESP32Cam is on a breadboard)
When flashing is done, you must remove the connection between GND and GPIO0, and press the RST button.
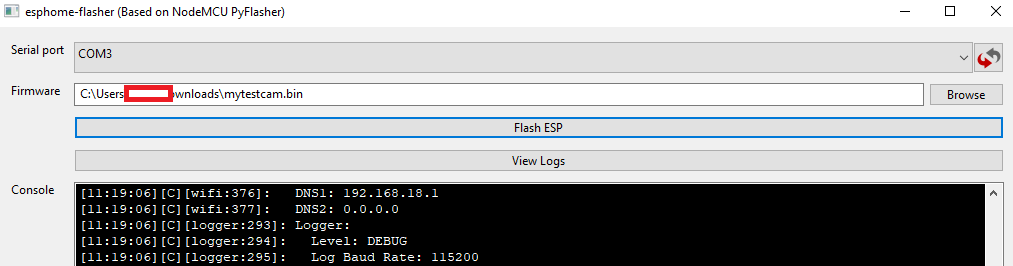
In ESPHome Flasher you select your COM port and the firmware that was downloaded, and click the “Flash ESP” button. You will see console messages flying by in the black window.
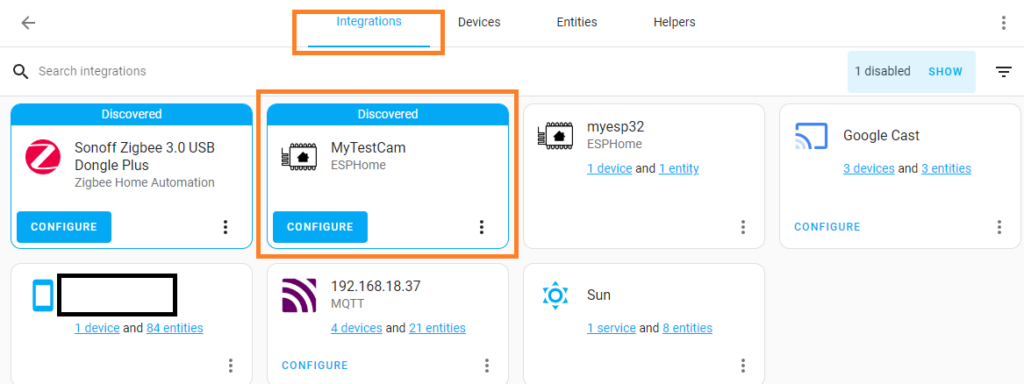
Once the flashing is done (remember to disconnect GND and GPIO0 and press the RST button), go to Home Assistant and then Integrations.
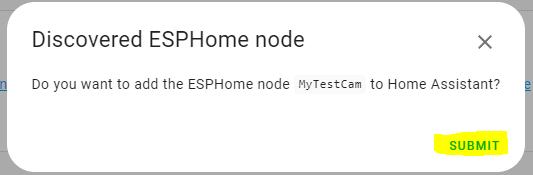
Click on Configure and then on Submit
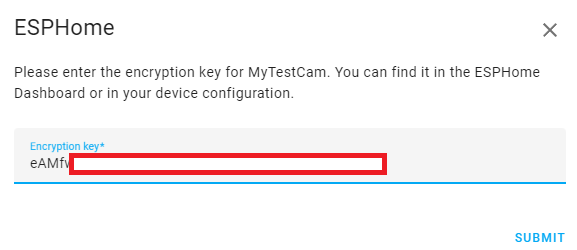
It will ask for an encryption key for your ESPHome node. You can just open Home Assistant in another browser, open ESPHome (or go directly to ESPHome), and get this device’s encryption key from its YAML config.
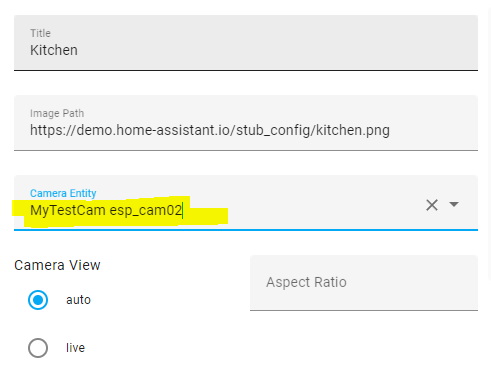
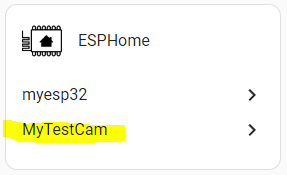
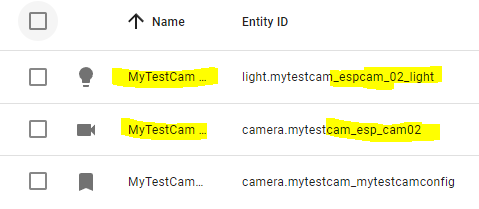
You will see all your ESPHome devices listed under ESPHome. I have 2 so there are 2 devices. If I click on MyTestCam, it will show 2 entities (mine shows 3 but it should be 2, I made a mistake and had to reflash the firmware). The first entity is the camera and the second entity is the flashlight.
esp_cam_02 corresponds to the name that was used in the YAML config. (Ignore the 3rd entity)
Clicking on either one of these entities will either open up the camera or bring up a light control for the flashlight.
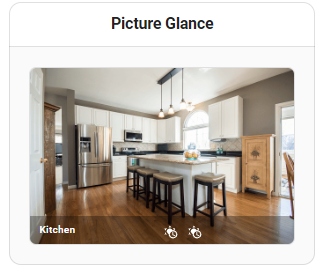
Adding camera feed to Home Assistant
To add the camera feed you must add a Picture Glance card. This will show a static image unless you tickj the “Live” option when adding the card. Otherwise when you click on it it will show the camera feed if you do not want a live feed.