This is an extention to my “Home Assistant on Docker” post which can be found here: https://techstuff.leighonline.net/2023/03/10/home-assistant-in-docker-home-assistant-core/
Adding ESPHome to Home Assistant that is running in docker is quite straight forward. Just add the following to the existing docker compose:
esphome:
container_name: esphome
image: esphome/esphome
ports:
- 6052:6052
volumes:
- /opt/homeassistant/esphome/config:/config
- /etc/localtime:/etc/localtime:ro
restart: always
privileged: true
network_mode: host
The ESPHome dashboard can be found here: http://<docker_host_ip>:6052
We can add that to our Home Assistant IFrames:
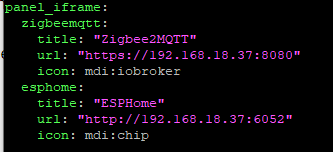
Unfortunately it does not look like ESPHome supports adding TLS, so if you want to load an HTTP IFrame that runs on a TLS enabled Home Assistant, you will need to go through an Nginx or some other reverse proxy.
If you are not running ESPHome over HTTPs, you get some warnings.
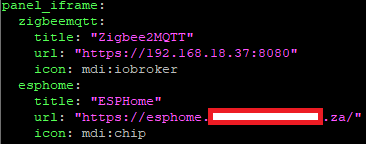
Cloudflare Zero Trust (tunnel) to the rescue for HTTPS
I dont want to set up a reverse proxy, so I added my ESPHome to Cloudflare Tunnel so that I can access it over HTTPs as well as outside my network. The configuration.yml for Home Assistant now looks like this:
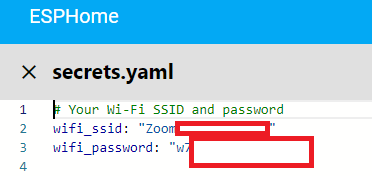
Setting up your first ESP32 in ESPHome
The very first time ESPHome will ask you for your WIFI SSID and Password. I forgot to document it. You can always check your “secrets” in the top right corner to see if your WIFI is set up in ESPHome:
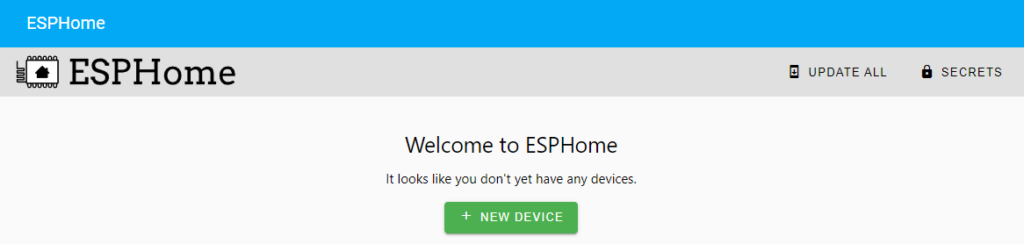
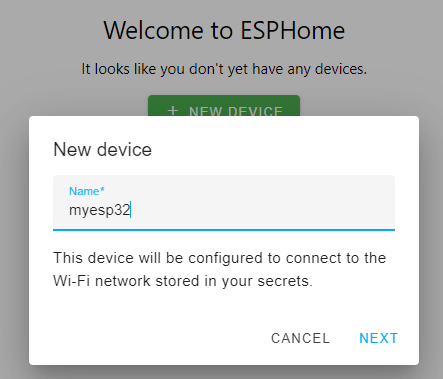
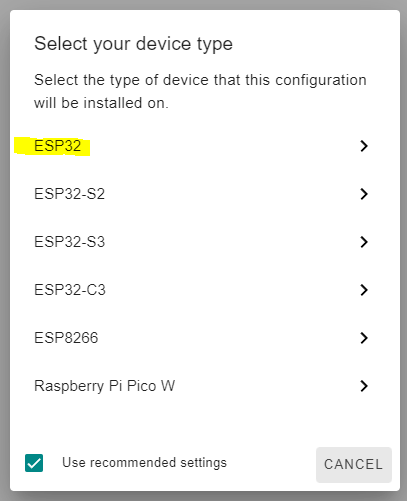
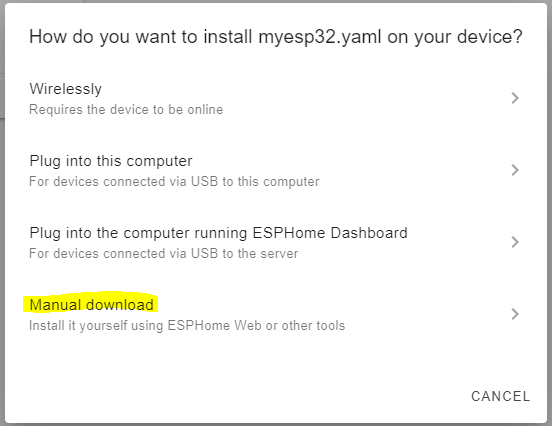
Lets add a new device (your prompts might look different if you are not using HTTPS. I am using HTTPS but you don’t really have to). I always have issues flashing via the Web interface, so I opt to download the firmware and flash it manually using ESPHome Flasher so I don’t really need HTTPS. We will cover ESPHome Flasher a bit further down.
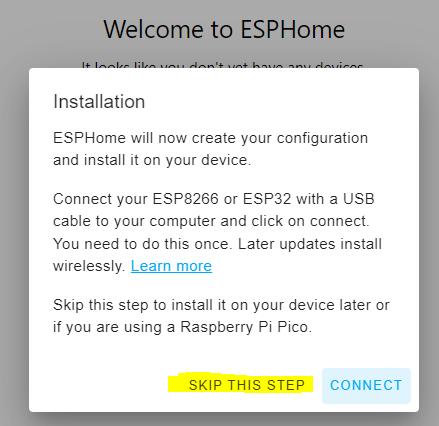
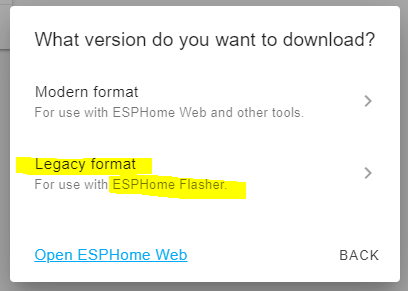
Once you select “Legacy Mode” the firmware will be compiled and will be downloaded automatically once it is done compiling (it might take a while to compile depending on how fast the device is your Home Assistant/ESPHome is running on). So check your browser’s downloads.
ESPHome Flasher
You can download the GUI version of ESPHome flasher here: https://github.com/esphome/esphome-flasher/releases
We just need to do this once so that we can flash our ESP32 with the ESPHome firmware. After this things get much easier as we can flash the new firmware over WIFI.
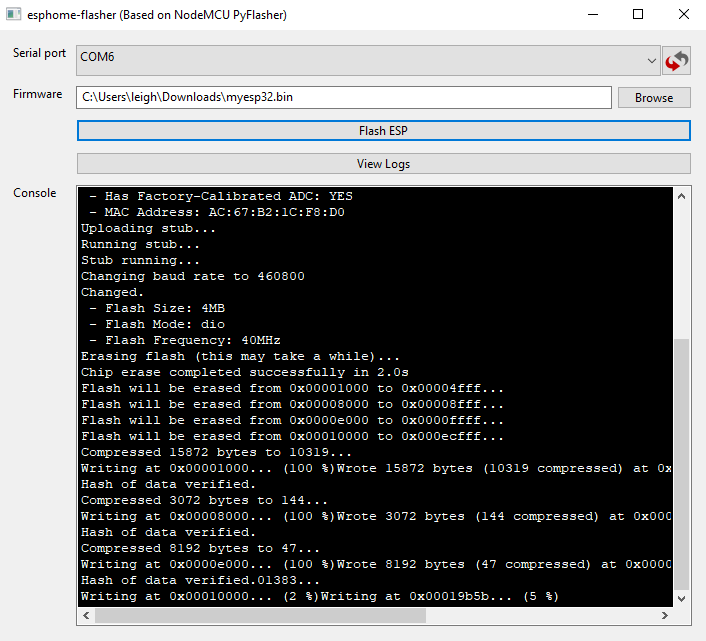
Connect your ESP32 to your computer, select your firmware, and click the “Flash ESP” button. If you are getting a “permission denied” error and you have the Serial Drivers already installed, make sure the Arduino IDE is not running and already using that port. If it is, close it.
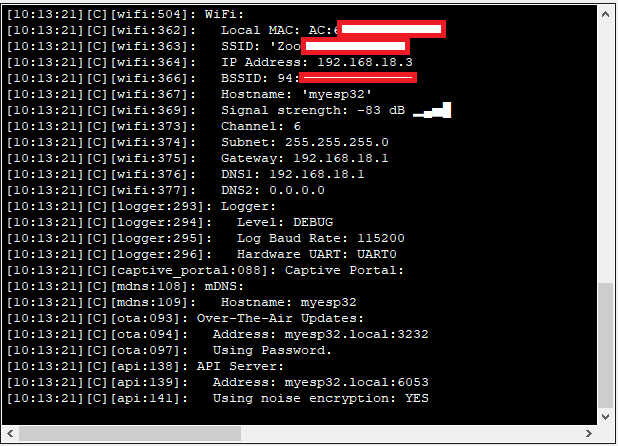
You will see the following in the ESP Flasher log window once flashing is done, and your device will show up as “Active” in ESPHome
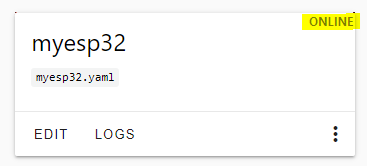
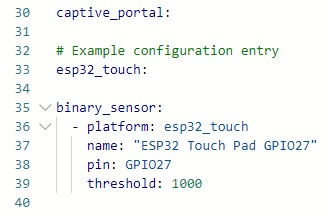
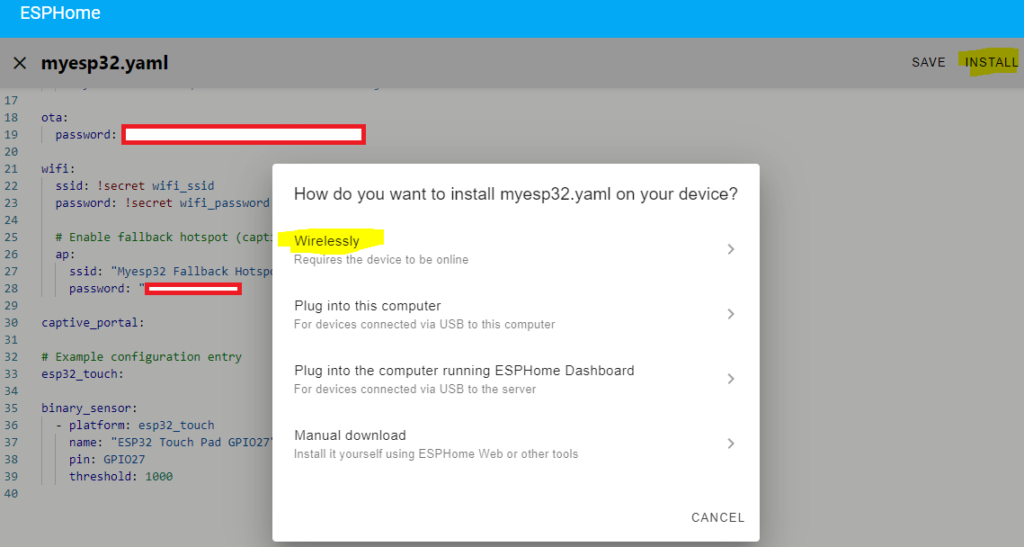
From here on out things are much easier. You can click on Edit, then add some code (I added a capacitive button), then install things wirelessly. Things will compile again, so it might take a while.
Pro tip: You dont need a capacitive button, you can just use a barre wire and touch it!
You will notice that your ESP device will show up under “Integrations” in Home Assistant:
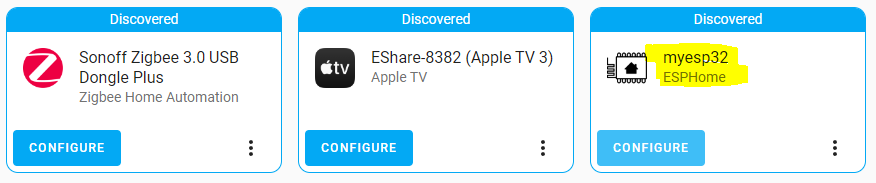
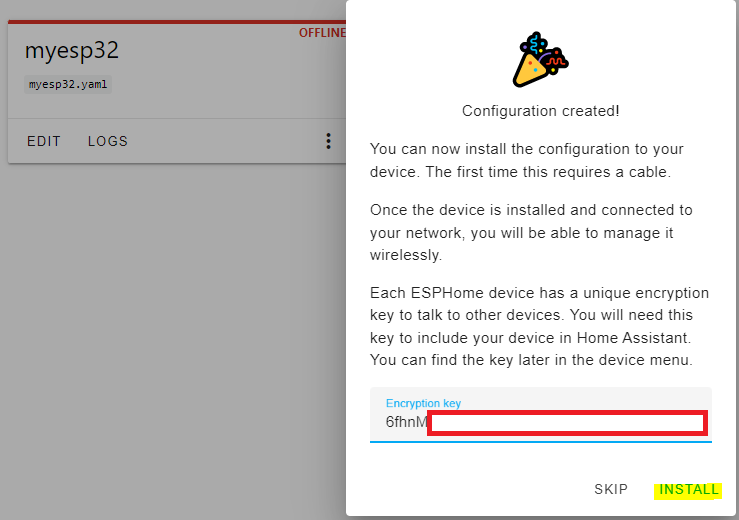
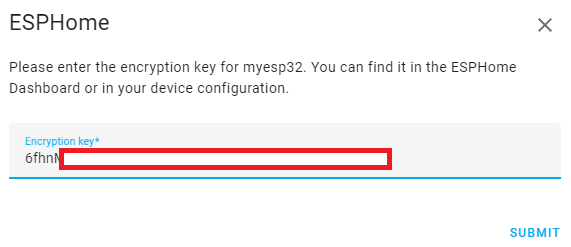
First get your ESP32’s encryption key from the YAML file in ESPHome then click on Configure above and paste the key when prompted:
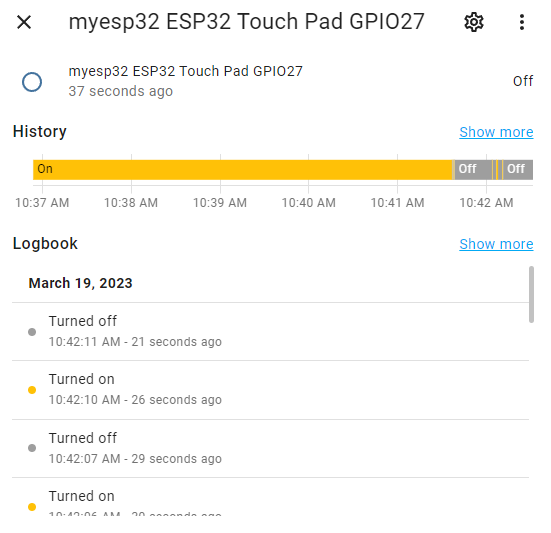
Your ESP32 will show up with 1 Device and 1 Entity. The 1 Entity will be the capcitive touch button we added.

And as you can see, touching the bare wire registers as a touch (you might just have to invert stuff in your YAML because by default it shows On)
And now you can use this just like you would any other integration in Home Assistant.
1 Comment
ESP32Cam running ESPHome - Techstuff · April 24, 2023 at 12:01 pm
[…] This is a continuation from this article: https://techstuff.leighonline.net/2023/03/19/esphome-on-home-assistant-running-in-docker/ […]
Comments are closed.