Flash ESP12f
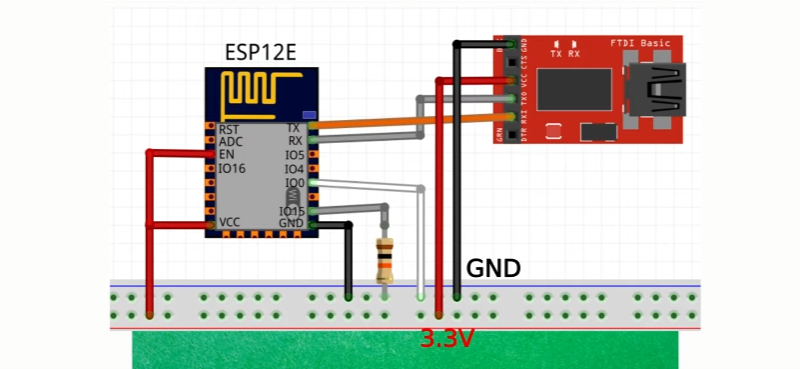
First we need to get our ESP12f into flashing mode. You will need a 10k resistor.
- When GPIO0 is connected to ground, it tells the ESP to enter flash mode.
- GPIO15 must be pulled down to ground using a 10k resistor.
You will also need an FTDI adapter.
I used this tutorial: https://www.youtube.com/watch?v=wyolY1OwSxc
You also need an adapter plate if you decide to connect your ESP12f to a breadboard. It looks like this:
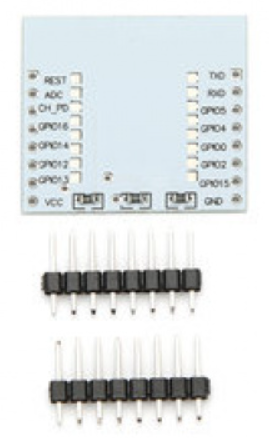
You can buy it here: https://www.pishop.co.za/store/serial-port-wifi-esp8266-module-adapter-plate-with-io-lead-out-for-esp-07-esp-08-esp-12
The documents below (under futher reading), confirms the pinout:

Flashing Tasmota
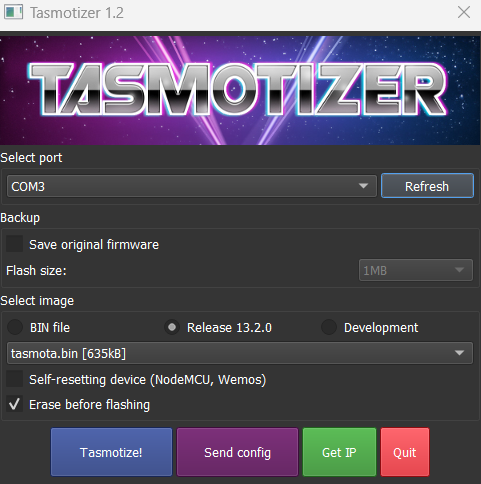
Download tasmotizer here: https://github.com/tasmota/tasmotizer
Connect your FTDI to your computer’s USB port.
Open tasmotizer and make sure it sees your FTDI is connected under “Select port”. If it does not see it, close tasmotizer and open it again.
Select the “release” radio button. You will be able to select the desired tasmota version from a list.
When flashing is done do the following:
- Disconnect GPIO0 from ground
- Power cycle your ESP32f by pugging out your USB cable
Plug in your USB cable again. You should see your ESP12f showing up as a WiFi device now (your device name might be different):

Connect to that WiFi network. It will ask you for your access point SSID and password. Once you have provided these details it will reconfigure itself and reboot, and you will be able to see your ESP12f connected to your WiFi router.
Here I can see my tasmota device is connected to my router, and if I go to its IP address I will be able to configure it (best option will be to make it static so its IP never changes):

Tasmota Template
Next up, I found a template here: https://templates.blakadder.com/ESP-12.html
I went into the web interface of Tasmota and added the template here:
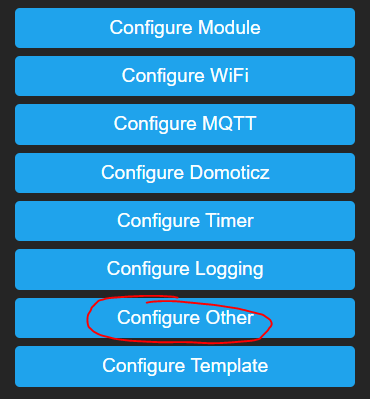
I then copied and pasted the template from the above website into the template section:
{"NAME":"My-ESP-12","GPIO":[1,1,1,1,1,1,0,0,1,1,1,1,1,1],"FLAG":0,"BASE":18}After saving you can confirm the template is in use by clicking on the “Configure Template” button.
Issuing Commands
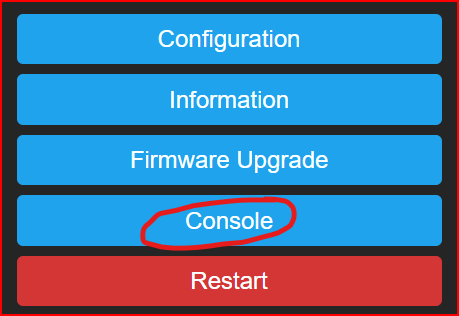
To issue commands (and see the output) go to http://your-device-ip/cs? or just click the Console button in the web interface.
In order to see your command output and what the device is doing, issue this command first:
Weblog 4You will now start seeing output in the console window such as this:
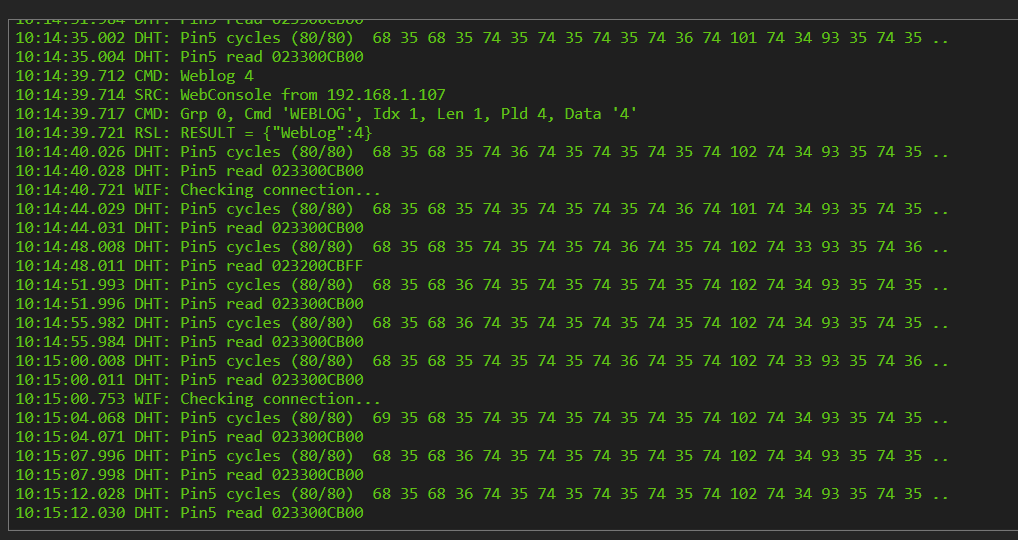
Now you can issue commands and the output will show up in the terminal. For example, I only want my Tasmota to update its MQTT every 600 seconds instead of the default 300, so I issued the following command:
TelePeriod 600
When you are done you can issue the command Weblog 2 to restore the default logging verbosity
Further reading
You can read more about the ESP12f in these 2 documents: